I bought a Cricut and accidentally learned it was just a dumber CNC
I bought a Cricut Joy Xtra because I wanted it to cut stickers.
That sounds simple.
It was not simple.
The first thing I learned is that Cricut's Print Then Cut system is deeply afraid of holographic laminate. The sensor marks were printed correctly. The sheet was loaded correctly. The machine looked at the shiny surface, saw the face of The Gods reflected back at it, and refused to continue.
I tried matte tape over the registration marks.
It did not work.
At that point, I decided to skip the scanning step and make the Cricut cut by coordinates instead. I already work with 3D printers, so looking at an X/Y grid and placing toolpaths by hand did not seem too scary.
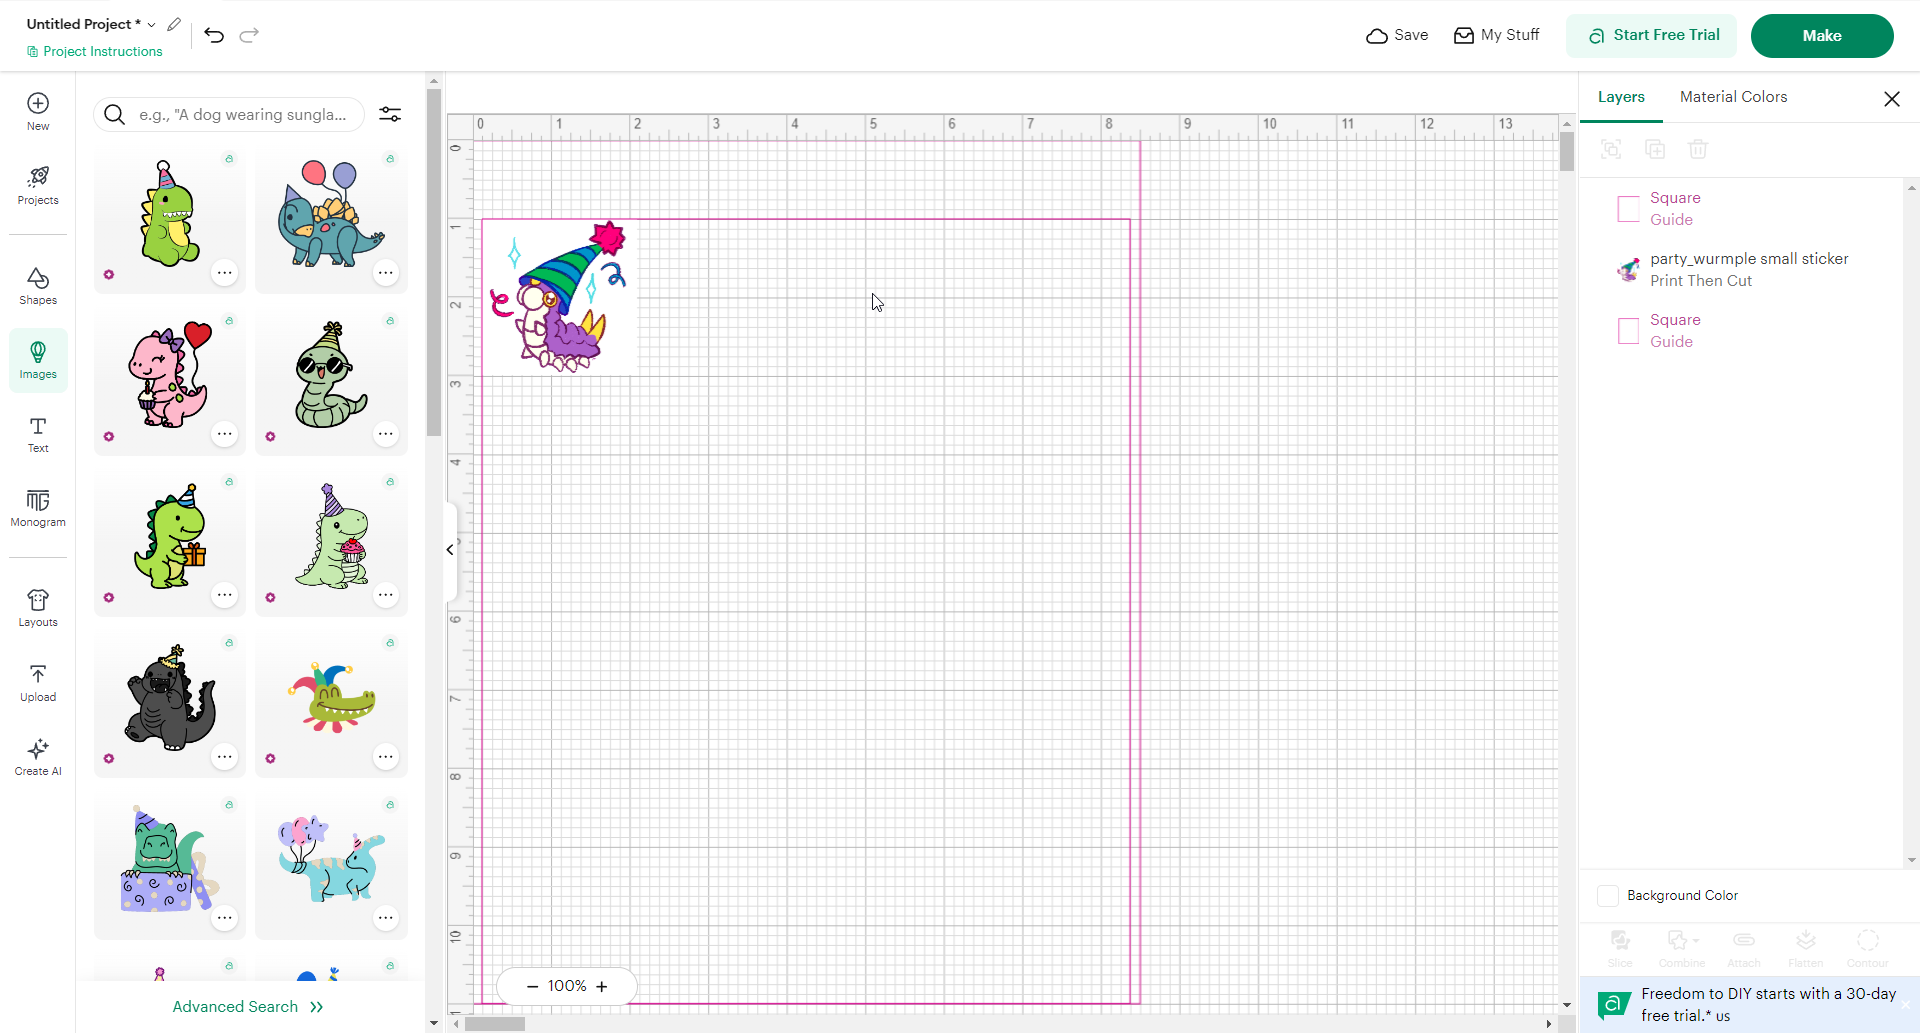
A Cricut is basically a dumber CNC with scrapbook branding.
I made a fake 8.5x11 sheet inside Design Space. I used the printed sticker layout as a guide and added separate Basic Cut lines.
I drew a grid of separate cut lines instead of overlapping squares. I didn't even know a plain cut line was an option until then. That was funny because it made the whole setup feel even more like a real CNC.
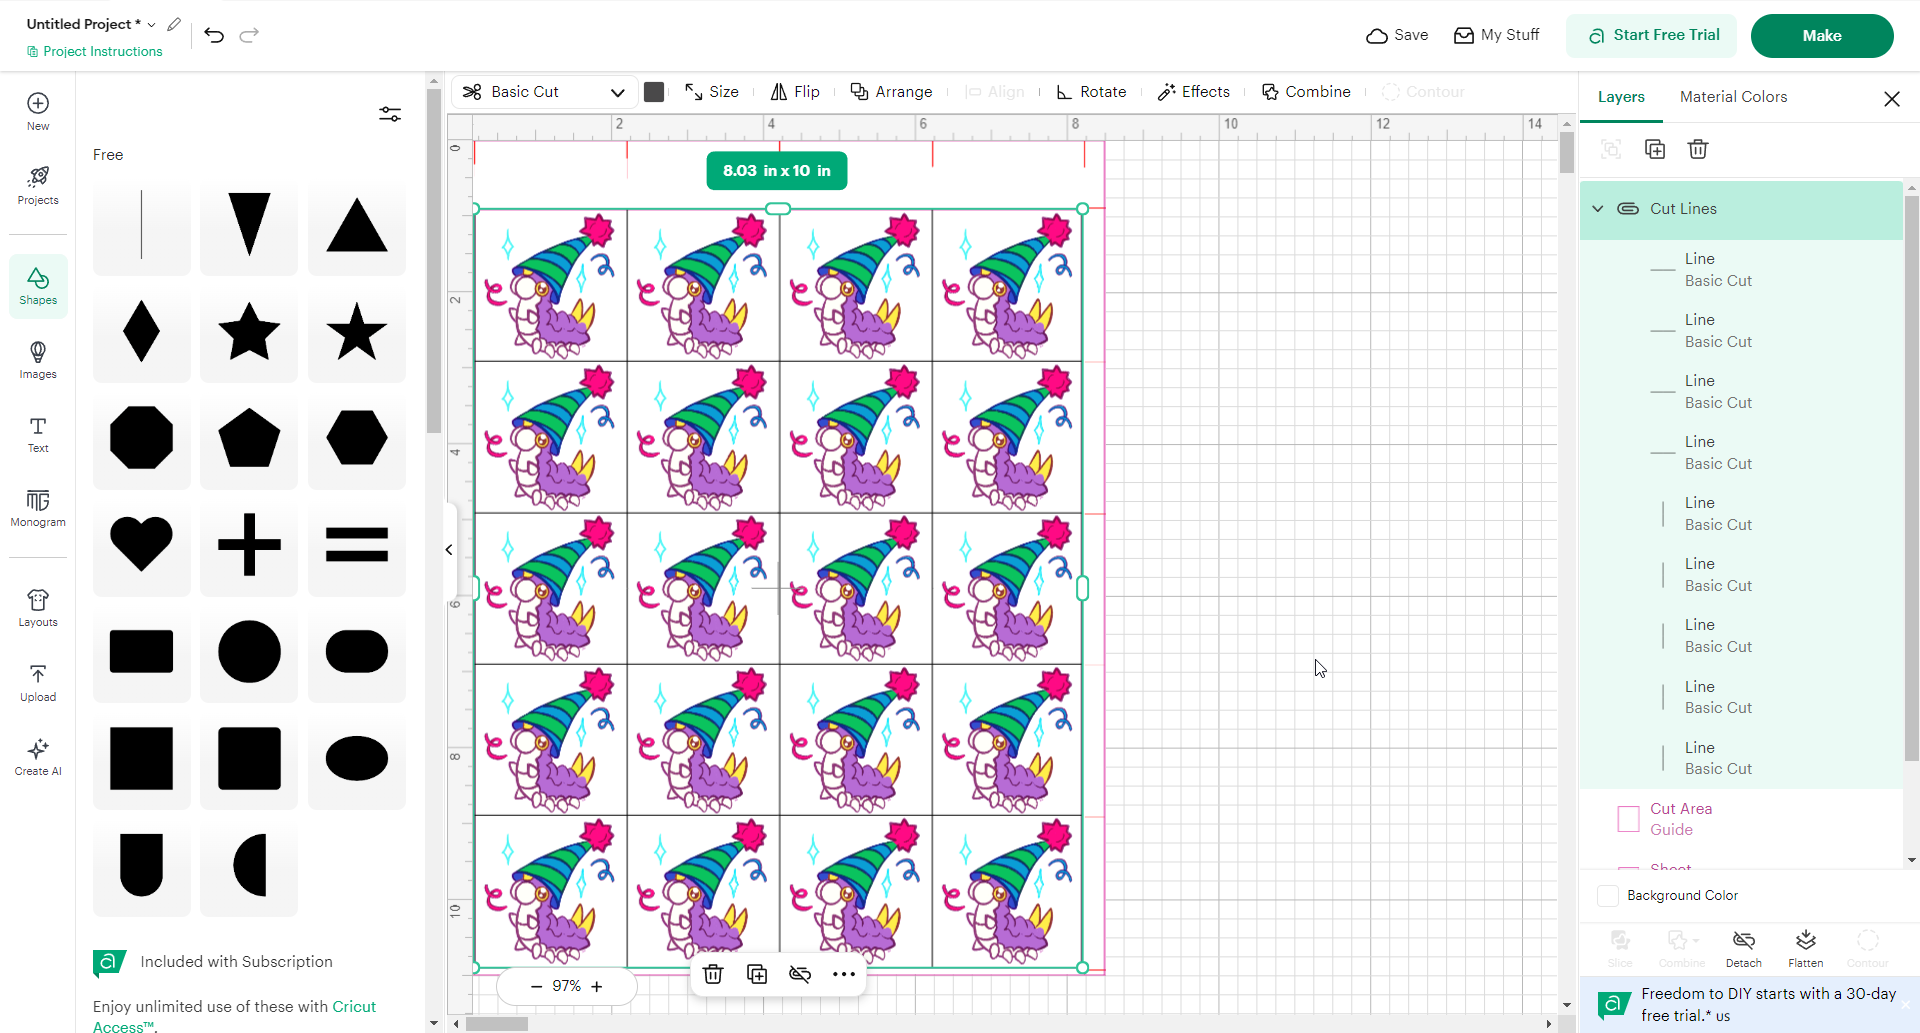
Suddenly, I had a full-sheet cutting setup that could fit 20 stickers instead of the 12 allowed by Print Then Cut.
This was thrilling for about seven minutes.
Then the mat loaded crooked.
The cuts came out tilted and shifted even though the layout looked right on my end. The mat had plenty of room to move, so the problem was probably loading, tracking, bending, or some other tiny physical betrayal. The whole point of cutting by coordinates was saving time, but without the registration scan, every small feed error ruined the sheet.
At the same time, the printer started smearing black ink along the top and bottom edges of the paper and I had placed the artwork too close to the edges.
I moved everything inward.
Then the laminate applicator scratched the laminate.
Then I learned that the new printable vinyl was thicker than the old Cricut branded kind. The Cricut's sticker settings cut through the vinyl, but not the backing.
I tried more pressure.
Still a kiss cut.
I wanted full die-cut stickers, not stickers trapped forever in a sheet-shaped prison.
Because I was using Cricut's Create Sticker tool, I could not use my own material setting. It only gave me a short list of approved materials, so I chose Medium Cardstock, 80 lb, and lied to the machine about what it was cutting.
That worked.
Clean cuts through the vinyl, laminate, and backing.
The color problem was its own side quest.
Printing through Cricut gave me bad colors at first. Plain Paper was wrong. Premium Matte was also wrong when I tried to force my own color settings. For a test, I ended up using Cricut, PDF export, Inkscape, Lightroom, exact page sizes, printer margins, and ICC profiles.
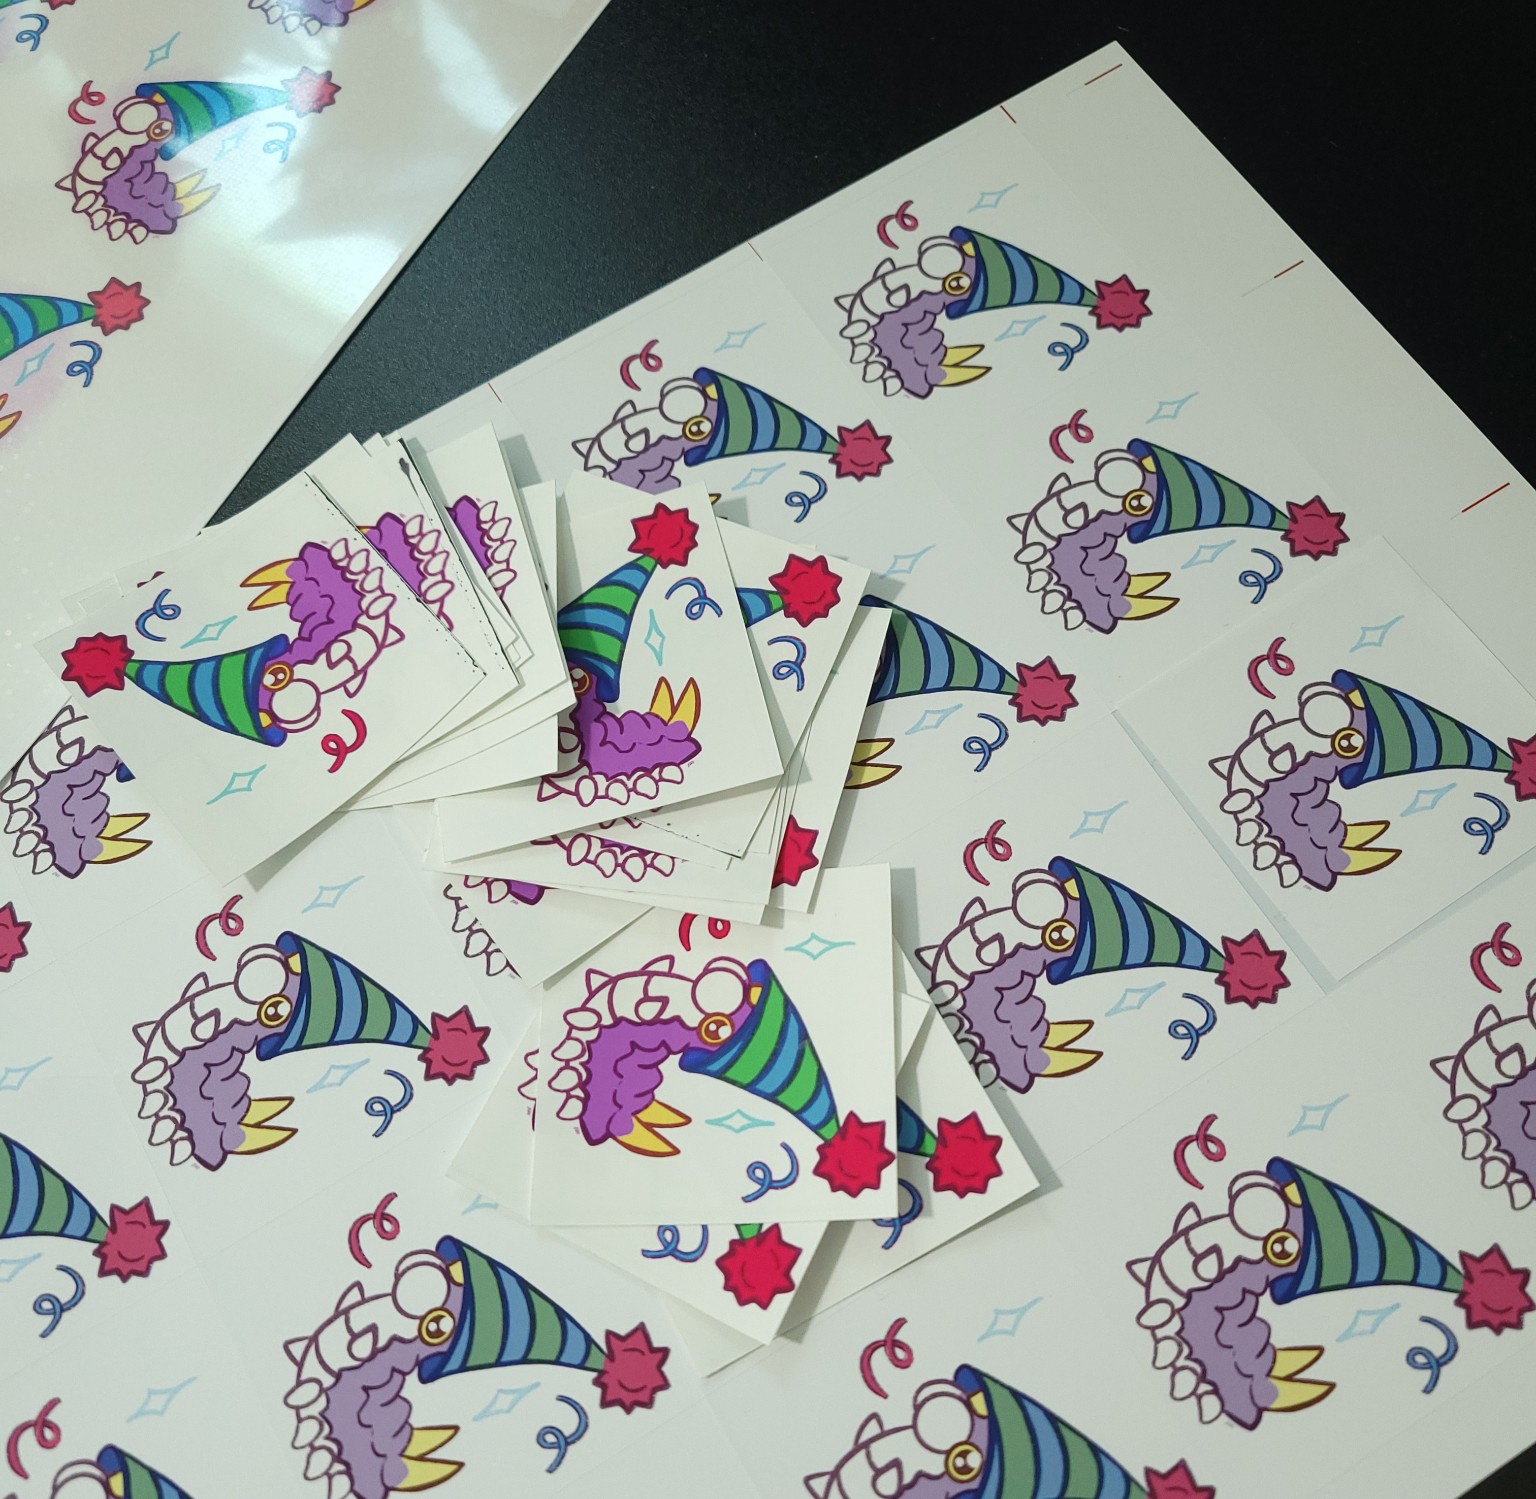
It was the kind of workflow that grew two more heads every time I fixed one part of it.
Eventually, I stopped blindly following color tutorials and let the Epson EcoTank handle the colors itself.
That was the answer.
The colors looked good. The registration marks stayed bold, and the sheet could go straight back into the Cricut.
I also trimmed the holographic laminate so it only covered the artwork. I left the registration marks uncovered. That fixed the sensor problem without trying to convince the Cricut to see through glitter.
I added a thin, slightly rounded border around the artwork too. Earlier cuts had shaved the tops off the party hat pompoms. I was dismayed. The border gives the cut a little extra room, so small shifts do less damage.
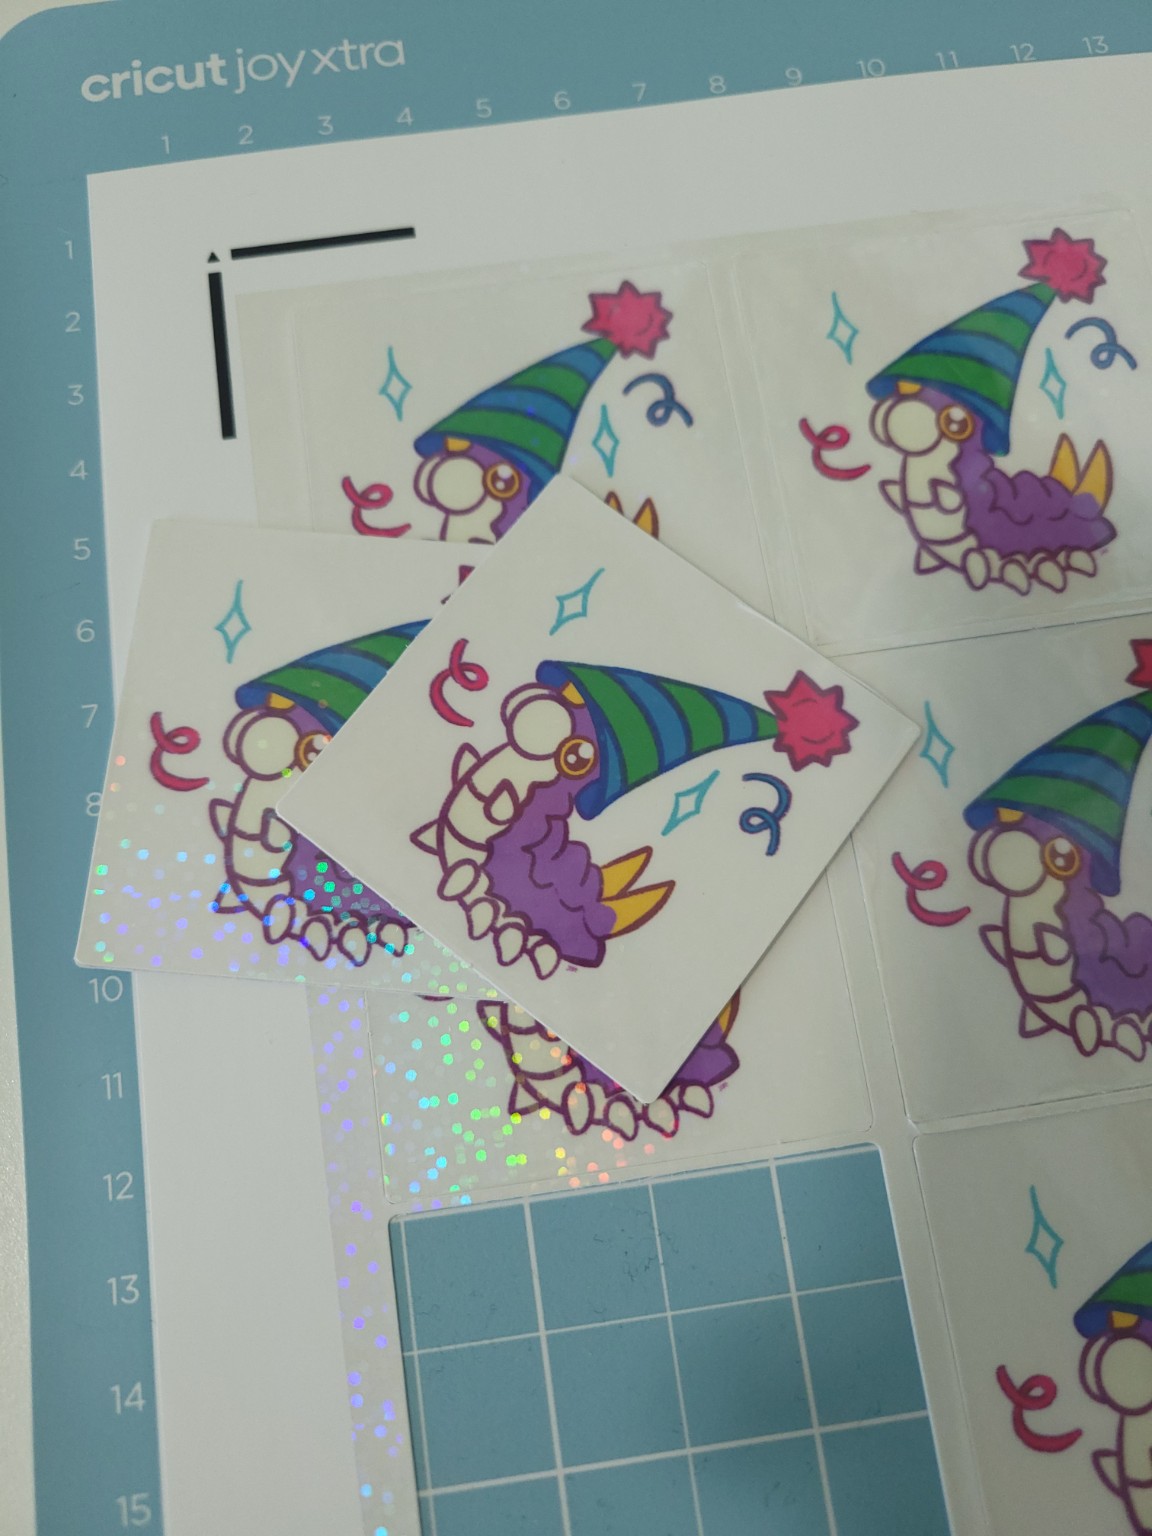
It's not the best possible sheet yield, but it is reliable. The finished stickers also feel good enough to sell for $5.
That matters more than squeezing 20 stickers onto one sheet and making a small graveyard of crooked Wurmples.
After all that, I started wondering what else I could make with the craft vinyl that came with the machine.
The answer arrived in the form of a hand-drawn Dickbutt.
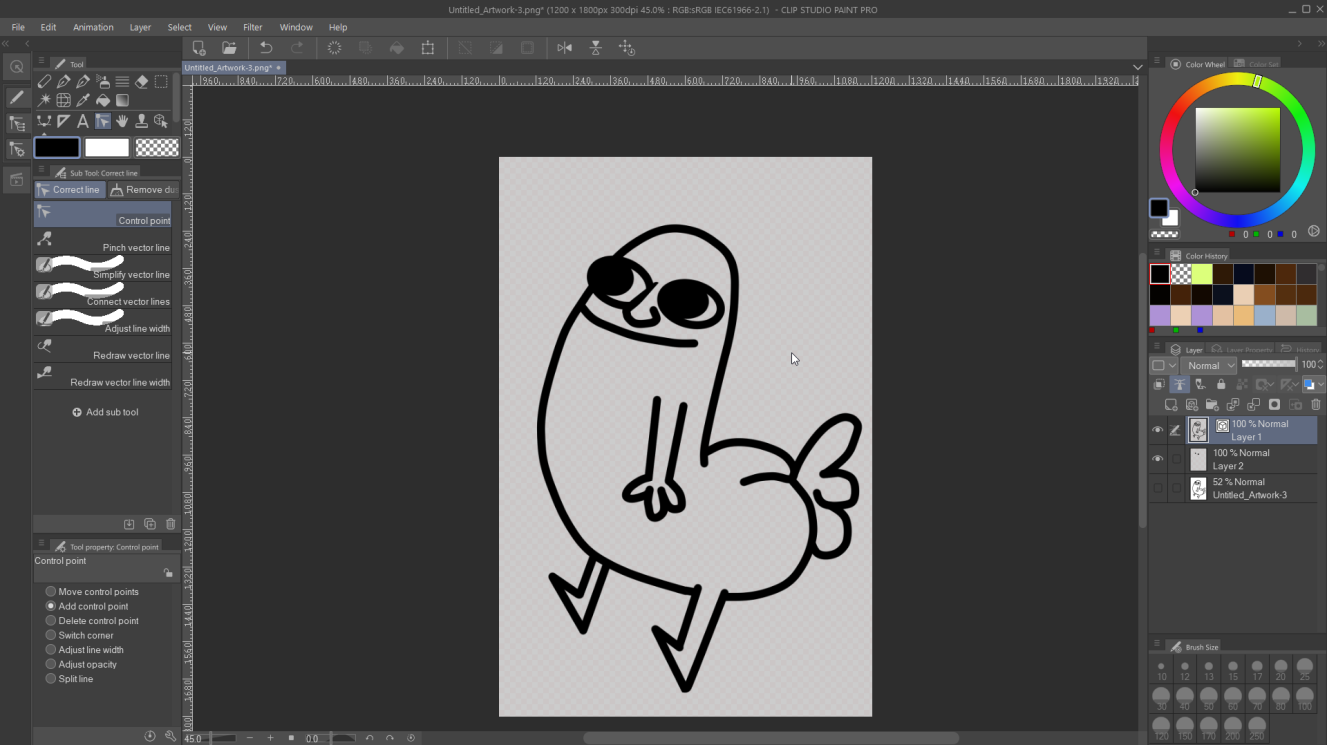
I had already used removable vinyl for calibration, so I tested the design with that first. The drawing turned out to be perfect for vinyl cutting: bold outline, simple shape, and instantly recognizable ancient-internet stupidity.
So this Cricut adventure began with holographic stickers and ended with me getting ready to permanently stick my own hand-drawn Dickbutt onto my truck.
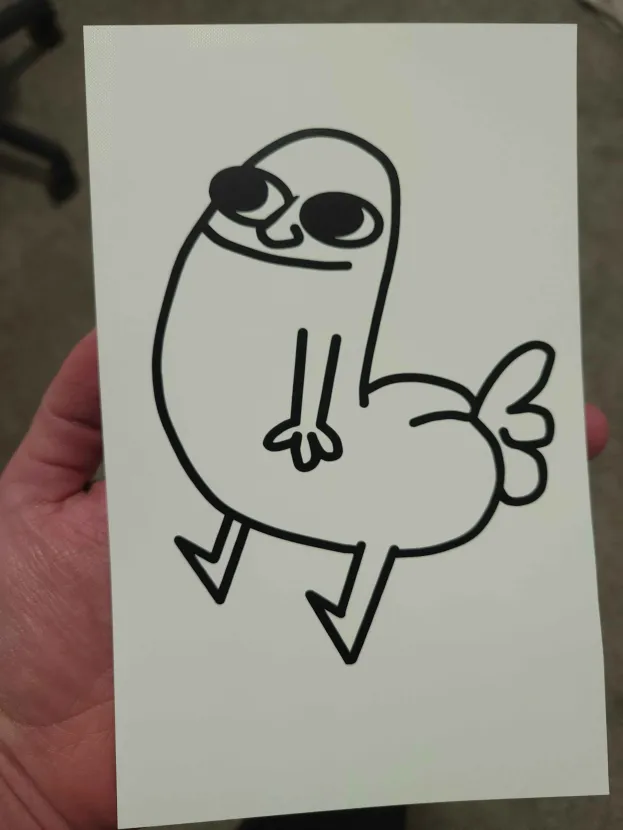
A successful tool purchase, honestly.
The final workflow is:
- Print directly from Cricut using Epson Standard and Premium Presentation Paper Matte.
- Trim and apply holographic laminate only inside the registration marks.
- Use Create Sticker with Die Cut.
- Choose Medium Cardstock, 80 lb.
- Cut 12 stickers per sheet.
The Cricut is not magic.
It is not especially smart.
It is a small flat CNC wearing a lavender shawl, and it works much better once treated that way.